Youtube https://www.youtube.com/channel/UC84lipWz8oYs3pCUpfK3w8A/videos

Wednesday, March 19, 2014

Where I Play

I gathered the driftwood for the primitive angels at Lake Michigan, but when I play on the internet, I have one very special internet site.


http://www.mixedmediaworkshops.com/profile/Linda


The link above is my profile at an online art site. 


Thursday, March 13, 2014

Book Cover

I have agreed to do a book cover for a local Native American author, Jacob Littledave. And it is finished! The book will go to publication soon, but I gained permission to show the cover before publication.


 Title of the book will be "Grandpa Buff", the story  of the Native American history of the Buffalo as told by the grandfather buffalo to the youth in the herd....


Sunday, March 9, 2014

Drawing...Baby Steps

Art Technique: Drawing


It's true. Most of my work will not be museum quality.  But it is all valid.  Whether we learn a new technique that we wish to try later or what NOT to do next time, the process is important.  Taking baby steps is a natural part of life and is the journey that forms you as an artist.

  I posted some faces on this site  n the final night of the 29 Faces Challenge in February that I might not normally show. (Faces 21-25)  They were done too quickly, and for the purpose of finishing up  a deadline...which I came short of  by four compositions.   Focusing on "getting done" is neither enjoyable nor productive in my art.  I need to experience the joy of creating.  I learned what NOT to do.  Hopefully, I will carry this lesson with me in the future.

In the Day 1 photo below I used only my harder graphite pencil, a 4H. Had I stopped here I would have been very displeased with this drawing, but it was only the first step.I  And I knew when I stopped that the drawing needed more work.


Day 1


.

I think it is important here to mention value.  Not price or worth....value is the lightness and darkness in a composition.  Many of my students try to stop at the Day 1 stage of drawing.  I always ask them to represent three stages of value in thier drawings.  Light, Medium, Dark.  The drawing above is light and medium values, only two stages.

Next Morning

The next morning I came back to it fresh and used my softer leaded pencils to complete the face.   By adding a third dark value in your drawings you can create emphasis and depth.   Hint: The kneaded eraser is a great drawing tool, especially for softer effects, such as areas in the hair and feather.


To purchase, contact Linda at studioabsee@yahoo.com for price and details.

Saturday, March 8, 2014

Watercolor TECHNIQUE,wet on wet

Spring Emerges

Mixed Media Watercolor on Watercolor Paper

Materials:
Watercolor
 colored pencils
ink on mixed media paper
Spray the canvas or paper with water, saturating the entire surface. Load a paint brush with watery acrylic or watercolor pigment and float it onto the wet surface.  Use many colors or a limited palette.  Watch the colors bleed into each other forming new colors and interesting shapes.  Let dry or dry with a hairdryer or heat gun.  If the colors are not rich enough to suit you, repeat the process.


Do the patterns and colors cause you to think of a subject?  Use paint to softly help these forms emerge from the background. Or try stenciling a pattern over the background and then paint freeforms to embellish the stencil. You can also use ink to enhance the background.


When I came back..... there she was just waiting for a little help to peek out from the background.  I cannot imagine life without art.  I call this "Spring Emerges."


Spring Emerges

Watercolor, colored pencil, and ink on mixed media paper

For details and price, contact Linda at studioabsee@yahoo.com


Tuesday, March 4, 2014

Leisure Park Elementary Murals

As a former public school teacher,  I completed many projects for the schools in which I worked.  The following photos are a blast from the past .... which unfortunately are now lost and gone forever.  Apparently someone in charge now thinks that pristine clean walls are more productive for our youth than a welcoming child centered atmosphere.  Sadly these murals that I designed and orchestrated with the help of may fellow teachers in our off-duty time as a gift to our students,  have been painted under.  No!   none!!  zero!!!  zilch!!!  attempt to contact the artists first so we could try to preserve it better in photos. The actual color was much more vivid than these photos show.  I am very sad that they are gone.  I hope someone has better photos than I do.  There were some Friday evenings that turned into the dawn on Saturday morning.  Hours and hours and hours of work vanished with the stroke of an uncaring pen that sent a note to the maintenance crew.  Oh well, the memory is sweet and so was the bonding with other teachers through art


There was sone concern initially that the teachers who wanted to paint murals beside their doors might not have the skill to created full bodied children.  I think that was an entirely overexaggerated concern.  Those teacher were much more creative than they realized.  So on the big murals in the foyer that are pictured here, the only big rule was that the figures had to be stick figures.  That always bothered me a bit, but I made the most of it by making cute faces and clothes.  The child in the tree wasbased on  my son, Lance,when he was a young boy, but with stick figure arms and legs....LOL


Hours an hours just on the tree bark an the butterflies.  The children loved this.

I can still recall the students's faces when they arrived at school and entered the building that first day after we completed the murals.  If we ever wondered whether the students would appreciate what we had done for them, our wonders were put to ease.  They ooohed and ahhhed as they walked inside.  


Much of this part of the murals was painted by the art teacher that worked there at that time.     I painted the stand that holds a real flag, but deliberately I made it look more like her style, without so much detail as the next sign below .


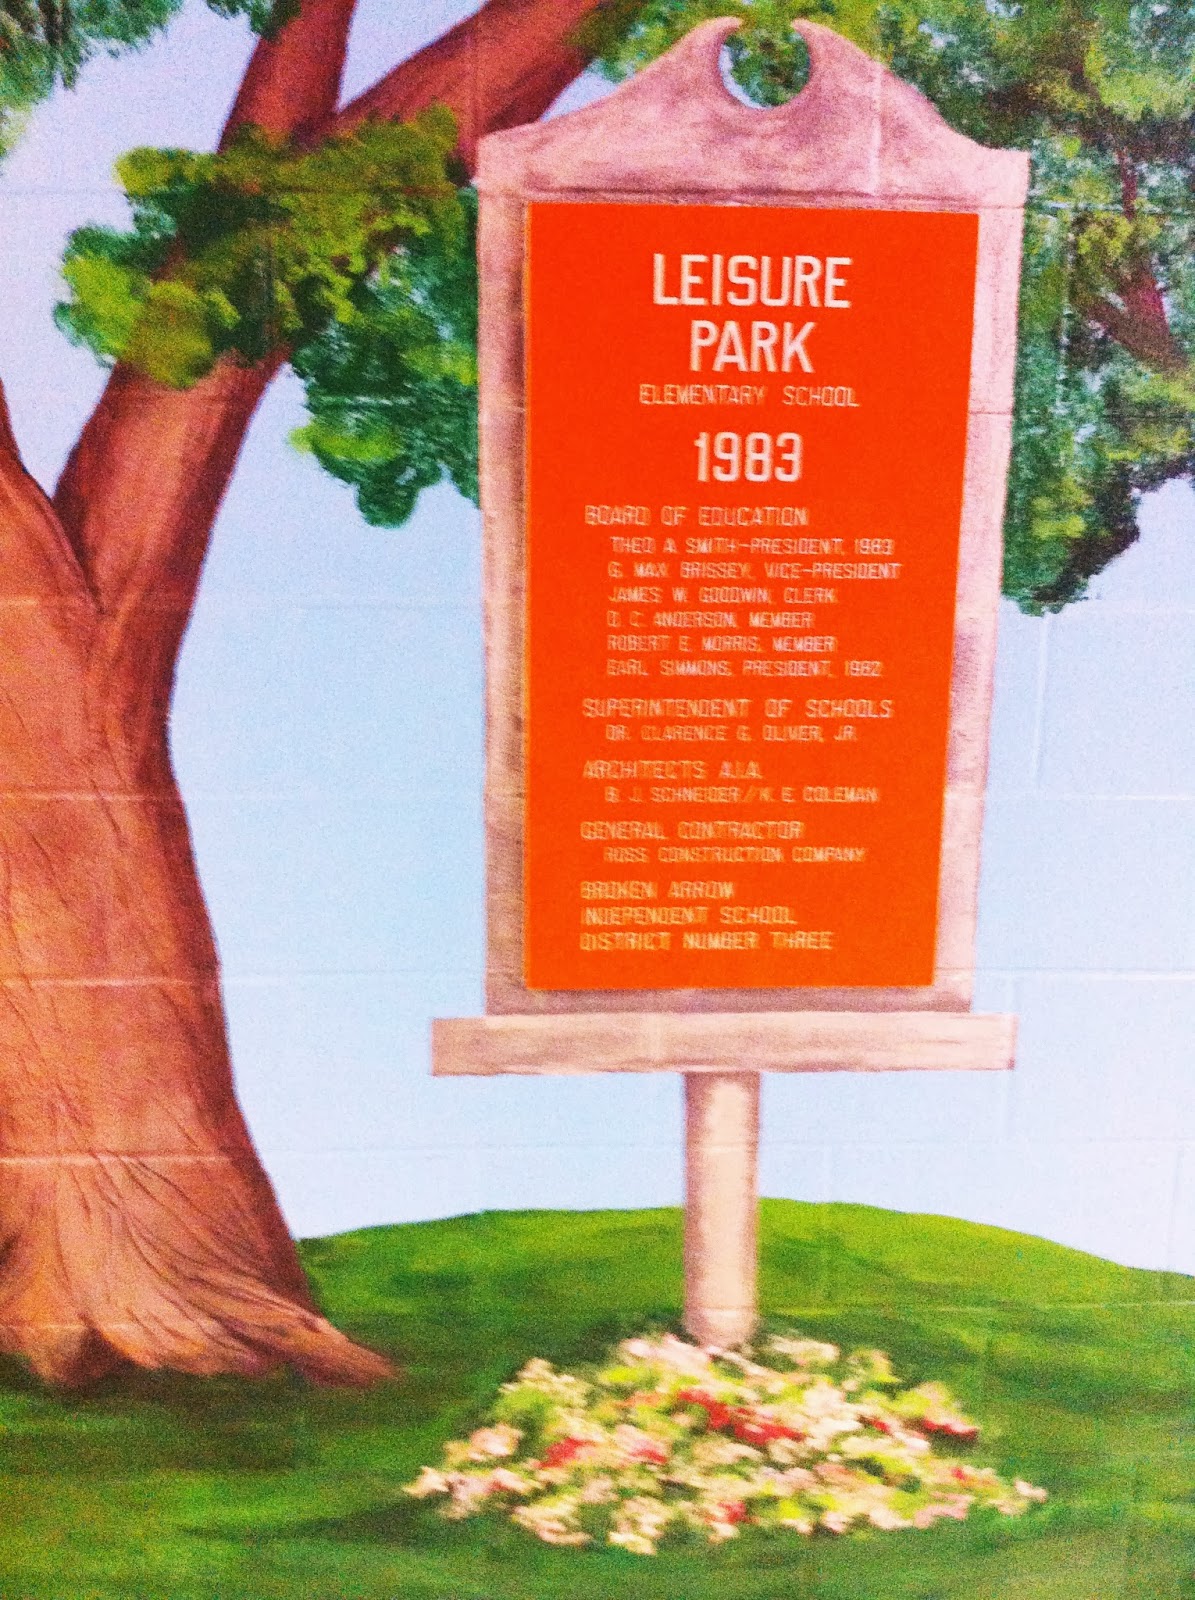
The orange plaque was already on the wall.  I painted the sign around it to make it appear that it was a sign in a park.  Afterall our school was called Leisure Park for the housing addition that surrounded it.  There was a park in this housing additrion called Leisure Park Park.  I always thought that to be funny.  So I suppose you could call this mural Leisure Park Park Park????? LOL

I hope I can find someone with a better photo of this part of the murals.  I did the painting to the left of the tree, incorporating the fire plug around the emergency fire handle by our front door   It was tricky to place a fire plug so high on the wall and try to get some perspective.  A bit out of balance, but placing it on a hillside helped.   There was also some kind of\ electric box on the wall (just above the pot of crimson flowers in the pot on the left) that I tried to make into some generic maintenance pole that you might find in a public place.  The house over the hill in the background represented the many homes in this housing additionl.

Monday, March 3, 2014

Tempest

Tempest

12" x 12" 
 Contact Linda at studioabsee@yahoo.com for price and details

I never tire of creating water inspired compositions.  I was much influenced by the waters swirling beside the ship when I took a transatlantic cruise to Europe.   Nineteen lovely days of watching the ship create everchanging swirls as it glided along its ocean path. 

For this composition I combined iridescent paints with less iridescent ones for contrast.  When white gesso is added, some of the iridescence is lost but you can create a wide variety of tints using only one or two acrylic colors.

http://www.colourarte.com/


Directions to create a similar canvas:

Materials: 
12" x 12" canvas 
gesso
fine sandpaper
masking tape
glue (I used E-6000)
hologram pape
            (SLK-110 Key Lime and SLK-117 Sky Blue)
brushes
water
glass pebbles

The process:
1.  Cover the canvas with gesso and sand lightly to create a surface that works well with paint.   Masking tape will also adhere well to this substrate. It is not necessary to create a perfectly smoothe surface.  Any imperfections will add to the textural quality of the finished work.
2.  Use masking tape to create a textural background.  I overlapped, twisted, folded and stretched and firmly pressed the masking tape to the canvas.  It is helpful to place a solid surface under the canvas so it will not "give" under the pressure. 
3.  Glue any loose edges of the masking tape to the canvas and let dry.
4.  Paint the entire canvas with SLK-110 Key Lime Colour Arte Silks Acrylic. This color gives a nice shimmery background for a watery composition
5.  Mix a small amount of  SLK-117 Sky Blue Colour Arte Silk Acrylic Glaze with gesso. Or  if you prefer more sparkle combine    Colour Arte's  Primary Elements Artist Pigments with their SLK-Clear Acrylic Glaze  to create your own iridescent color.

Choose areas to paint over and around the original layer of paint. These paints are strong in pigment and controlling the amount of gesso you mix with the paint will give you a variety of blue tints to use on the canvas. For blended edges paint wet paint into wet paint.   For crisper edges let the paint dry between applications.
6.  When the paint is dry, cut hologram paper into teardrop shapes and arrange over  the painted surface.  
7; When you find the composition you desire, glue the paper to the canvas.
8. Glue glass pebbles to the canvas to complete the composition.
9. Date your canvas on the back...this will be important later.  You don't realize how your art is chaning and developing without knowing what you did in the past.
10. Finished! ...Pour yourself a cuppa and invite a friend to admire your work!!!!


Here is another post  that you might enjoy. Combine caulk and acrylic painting techniques with found objects: